Wednesday, 17 October 2012

Pleating The Fabric

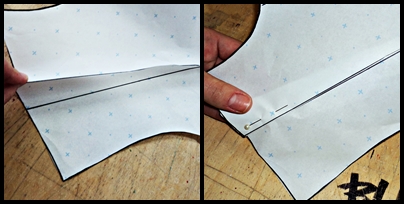
It is such a meticulous hand-work! For sure it takes some time if you want to get a really fabulous pattern. The first step of pleating is to draft the cartridge sheet of paper. Then you can start creating the pattern just folding and following the drafts you did. It is not a hard work to do just needs some patience! As you need two the same pattern pleated pieces of the paper in which between place the fabric and steam it very well. And here you get the beautiful piece of pleated fabric!


Some more of amazing pleated fabric examples shown by Terry Weinart of Ciment Pleaters


Richard Sweeney - inspired by paper pleating creates unique models of sculptures. 


Monday, 15 October 2012

The Further Development of the Skirt Design

Here is the little sketch how a new idea of a skirt design was being developed. First - creating the design lines, then adding the volume to some pieces of the patterns and finally - the pleating.


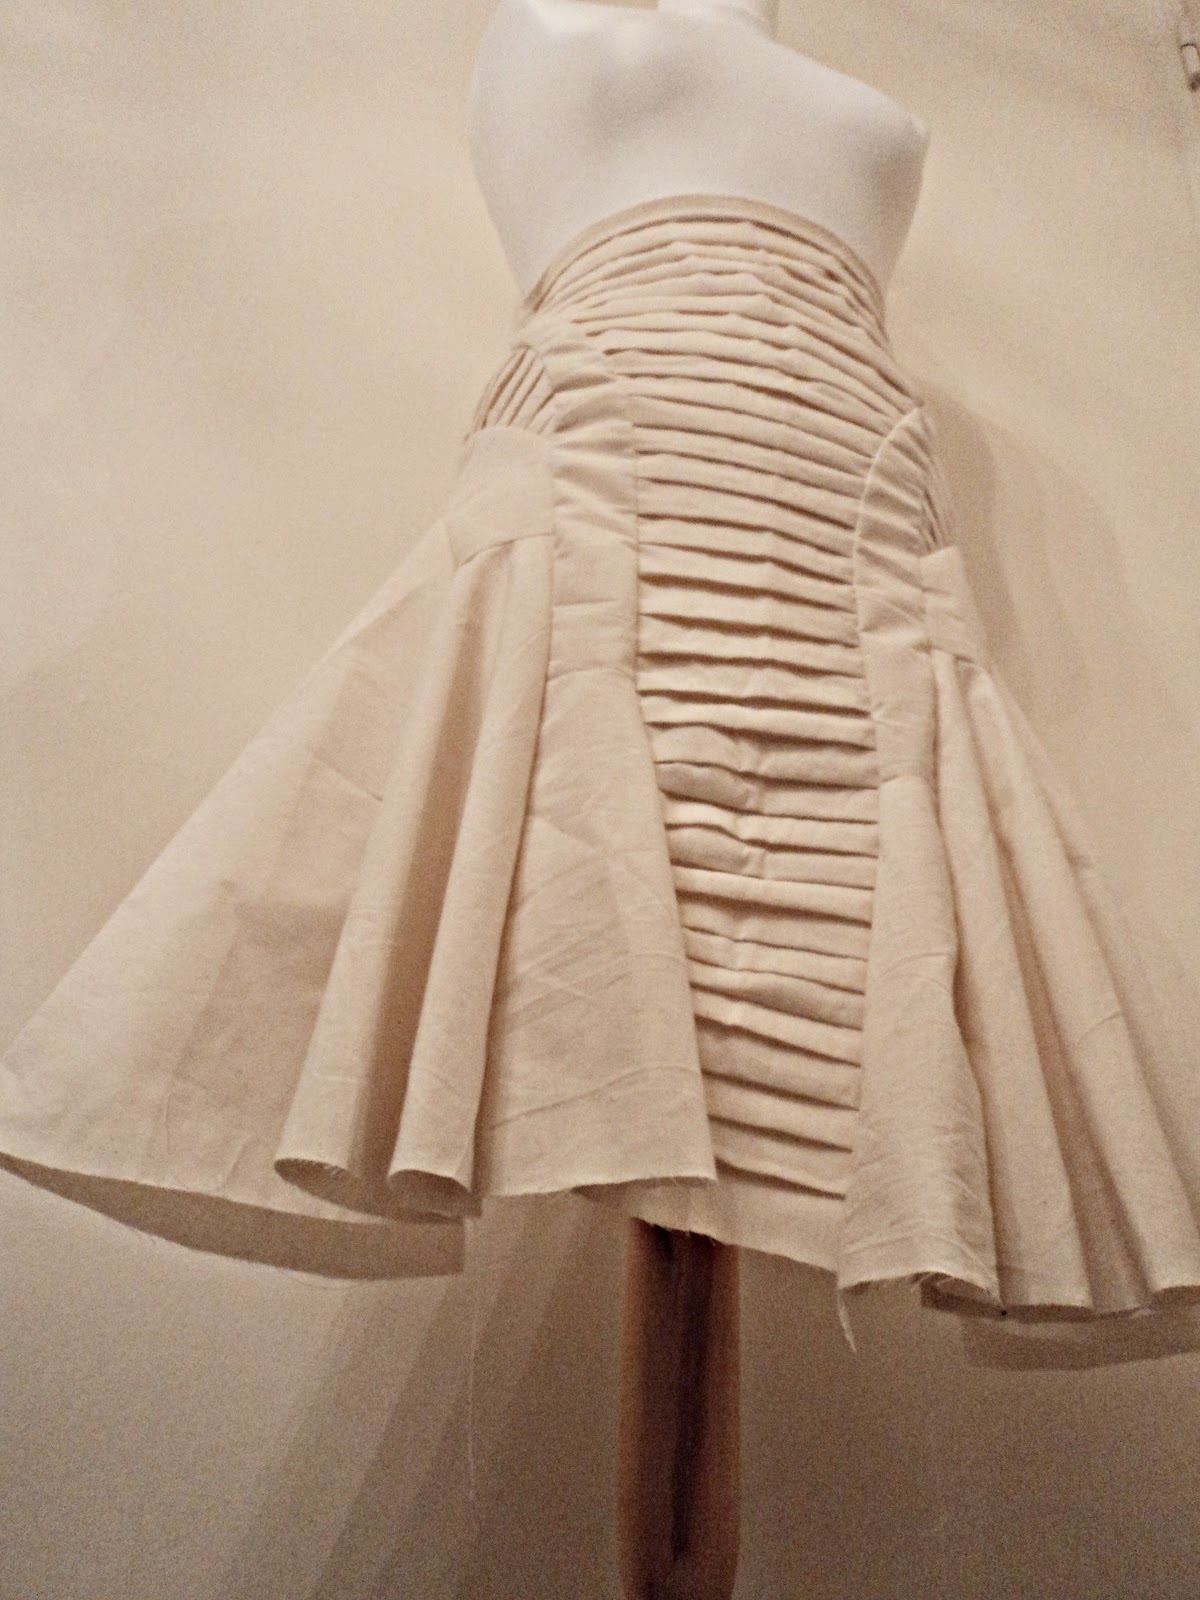
Having the skirt made. During the process was changed the skirt waist into the high and gave even more volume to the ham.


Wednesday, 10 October 2012

Experimenting TR in the skirt design

One more little example of how to do TR designing a skirt.
Again I re-drew the basic pattern of the skirt (back and front) into two ways. First one is when you want to get the shape of 'pencil' and the second one - shape of a bell.


Here I tried to develop into the skirt of 'bell' shape. Having all darts taken in I created the design lines (in red mark). 


Having the pieces cut out I tried to increase the development into the pieces A and C. As you see I gave more volume and got absolutely new patterns. 


Tuesday, 9 October 2012

BALLGOWNS: British Glamour since 1950

It is such a beautiful exhibition at Victoria and Albert's Museum in London. There are featured more than sixty designs for social events such as private parties, royal balls, state occasions and opening nights.


1. Julien Macdonald 1996 viscose and lurex. 2. Zandra Rhodes autumn/winter 1981 silk, polyester, lame and tulle. This dress consists of a bustier jacket, double layer skirt and a belted apron which forms two fluted gold hip-panels either side of the skirt. 3. Bellville Sassoon Lorcan Mullaney 1996 silk chiffon and lame.


1. John Cavanagh 1965 organza, satin and net. 2. Franka (Baroness Steal von Holstein) 1996 silk satin and lace with sequins, pastes an beading. 3. Victor Stiebel 1959 satin, tulle and organza. Worn by Muriel Campbell for the 1960 ball in honour of Princess Margaret's wedding.


1. Giles Diacon spring/summer 2007 silk. 2. Alexander McQueen spring/summer 2011 feathers. Daphne Guinness chose this dress to wear to the Costume Institute Ball at the Metropolitan Museum of Art in NEw York in May 2011. 3. Gareth Pugh 2011 silvered leather made specially for V&A.


In my personal view, this exhibition is a great way to see how Biritain's fashion designers are creative for a glamour women's look. I would say they use a rich combination of traditional craft to make a media splash.

Monday, 8 October 2012

The Further Development of the Top Piece

Using the same design lines of the paper top modelling here is the already made top using calico fabric and pleating technique added to make a 3D square effect on one side.


The other design using same design lines. The shape of the neck and pleating parts are changed also added the technique of giving the volume to the piece 'C' .


Saturday, 6 October 2012

My first try of TR design !

Here is my little experiment of TR just to see how it works. I used the basic top pattern with the paper.

Firstly I re-drew the basic pattern onto the paper and marked the centre bust line and the darts and grain lines.


Secondly I folded the darts and then pinned them to get the 3D shape of the pattern.


Third step is most enjoyable! Put the top onto the dummy and draw the design lines which I marked into a red marker. You have to make sure the design lines go through the centre bust line and darts crossing point to get the new patterns flat.


Here is my new pattern which broke into 3 parts. After making sure they are flat I put them onto paper to re-draw.


And finally I got the new patterns ready to use on fabric and start sewing! As you see there are no darts. The design lines I created will give a nice 3D shape for the new garment.


Shingo Sato and his 'Transformation Reconstruction'


Shingo Sato – a couture Japanese designer who does magic in TR (transformation reconstruction)!

He uses this technique in design to transfer old fashioned darts into design lines. He calls it ‘Transformation Reconstruction’ which is done in 3D using calico fabric instead of paper and it gives so much more possibilities to be creative. The basic pattern which is sewn from calico becomes a new one after adding the design lines. His design lines are very wavy and geometrical. Some are even very architectural. His designs are really inspiring! And the technique is so enjoyable!

Here are some photos of his TR of the balloon effect and a short video bellow on youtube.com to follow.